Beginner bakers, these tips are for you, so make your way out to the dance floor. If you’re new to baking, it can feel like art, math, and science class rolled into one. And salsa dancing, apparently.
TikTok and Instagram videos make baking seem as easy as pie. A few ingredients and a quick time lapse sequence set to music, and poof! You have a cake that looks like a Minion.
Don’t let the filters and catchy tunes fool you. But with a few simple baking tips for beginners, you’ll feel confident enough to take some whisks in the kitchen. You don’t know what a whisk is? Oh boy, we better get started.
10 Baking Tips for Beginners
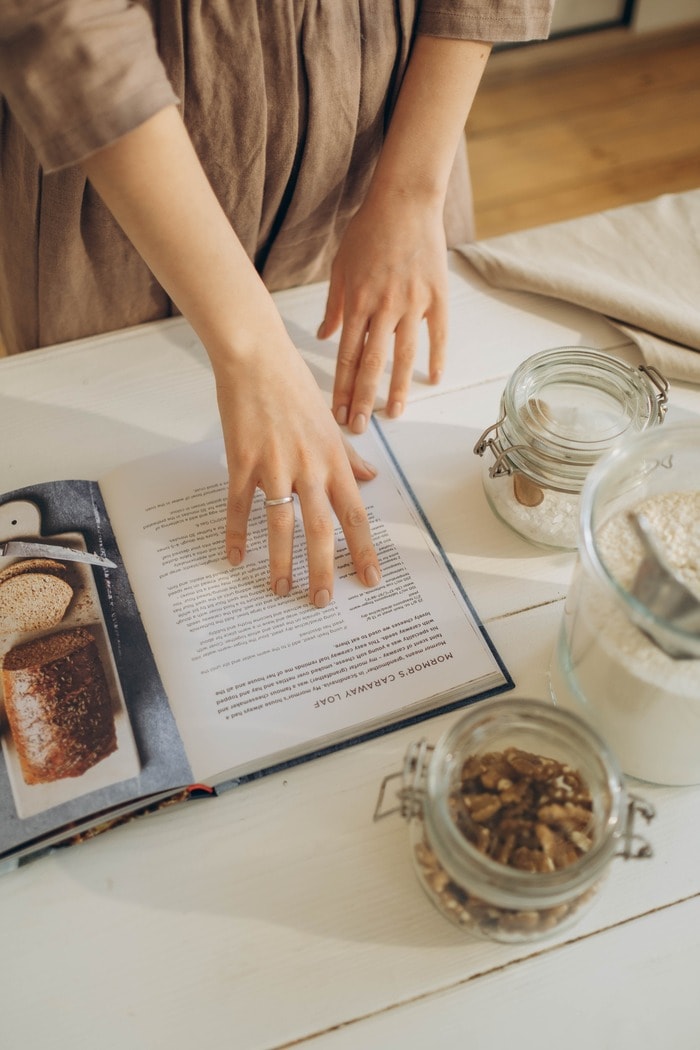
1. Read the recipe thoroughly before beginning.
Raise your hand if you have ever been influenced to try a recipe based on a social media photo alone. (Raises hand).
Before you dive in, review the ingredient list to ensure you have fresh ingredients in the correct amounts. You won’t need to make creative substitutions, like the pumpkin-seaweed pie we made that didn’t win over Aunt Myrtle.
Reading the directions ahead of time can also help you avoid potential mishaps in the kitchen. Think of it as your dress rehearsal before the show. When you’re comfortable with the directions, you can develop your baking sequence and plan an attack strategy.
Avoid the temptation to perform the steps out of order, or your recipe may not come out as intended. We only said we like flat cookies better than perfectly fluffy ones to avoid hurting your feelings.
2. Pay attention to room temperature.
Temperature is the boss in the kitchen. When ingredients are at room temperature, they blend more easily, creating a consistent texture.
Let’s talk about what room temperature means, because everyone has an opinion, whether you’re Team Put On a Sweatshirt or Team I’d Rather Be in Shorts. (Personally, we’re Team Not Comfortable Enough That Our Heating Bill Will Go Up.) Room temperature ingredients meet that sweet spot between warm and cold.
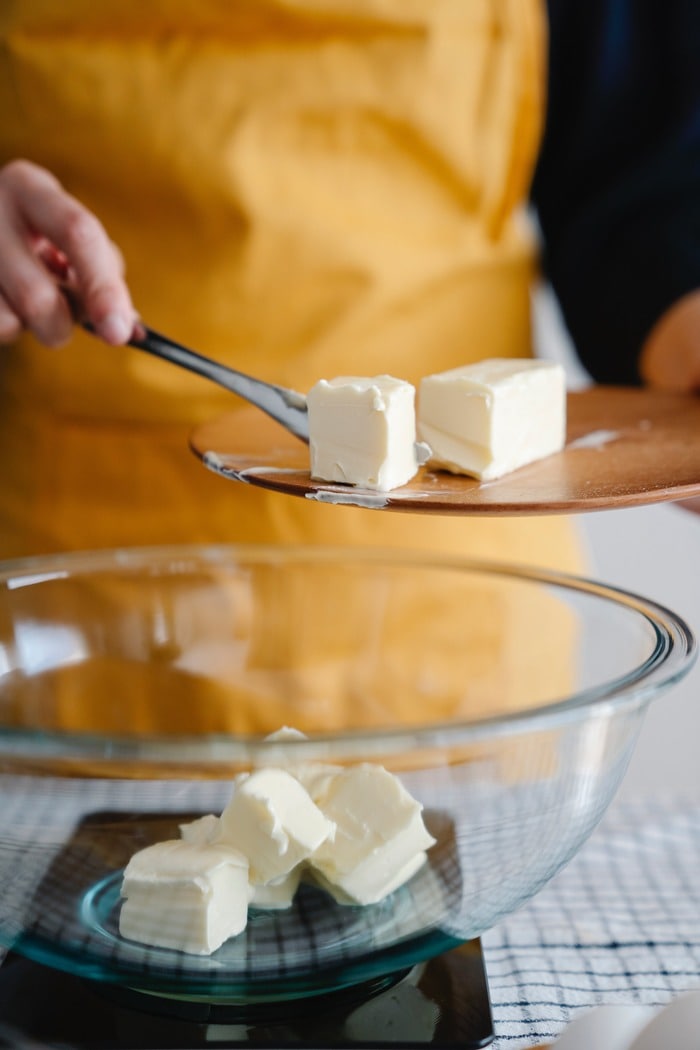
If you press a finger into a room temperature brick of butter, it should leave a mark behind. Not literally though. Don’t worry, Mark, you can have a cookie too. You can bring ingredients to room temperature by leaving them out on your counter for an hour or two before baking.
If that feels like too much prep, there are faster tricks. Cut butter into pieces and microwave it in intervals of 10 seconds. Place eggs in a bowl of warm water for several minutes. If you’re feeling festive, dye the eggs and hide them. It’s never too early to practice for an Easter egg hunt.
Likewise, make sure your cake is room temperature before icing. Nobody wants a Wicked Witch of the West icing situation. It’s melting.
3. Measure your ingredients properly.
Baking requires precise measurements and a critical eye. Like us, when we’re looking for the perfect filter on Instagram to show off our new haircut.
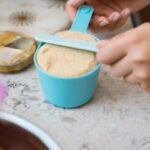
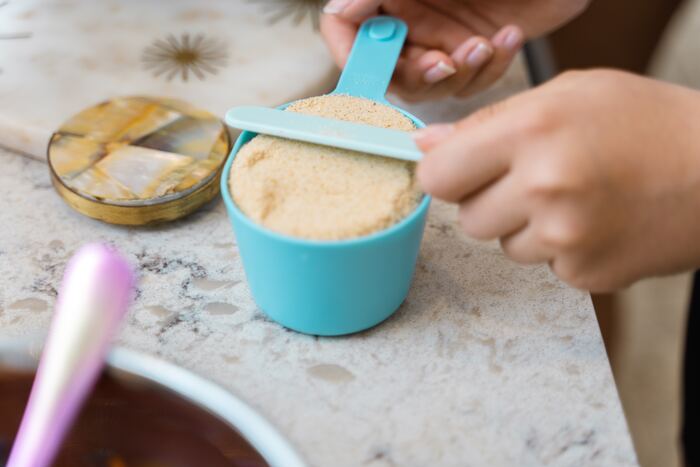
For dry goods, like flour and cocoa powder, measuring cups are a standard tool. Pour or scoop the dry ingredient into the measuring cup until it is heaping. Then slide the excess off the top with a butter knife. Swoop down to eye level to check that your work.
Heavier dry ingredients, like brown sugar, should be firmly packed into a measuring cup. For finer dry ingredients, like baking soda, measuring spoons are key. Scoop the ingredient into the appropriate measuring spoon and level it off at the top.
Liquid measuring cups are also good to have on hand. They will help you put the correct volume of the ingredient into your recipe. You won’t even have to remember all those volume formulas from geometry classes past. Phew!
For even more accuracy, a scale can help you measure ingredients by weight.
4. Choose pans carefully.
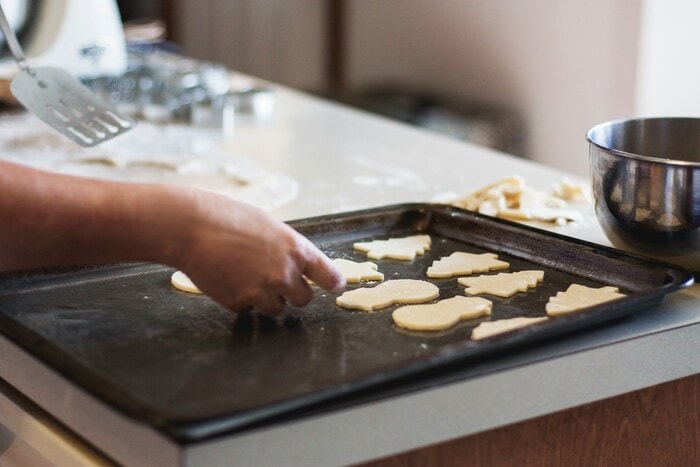
Ideally, your recipe will have suggestions for the type of pans you should use. Baking times will vary depending on your pan’s size and the material it’s made with.
Classic choices include aluminum, metal, and nonstick pans. These pans trap heat quickly and help your baked good cook evenly. If they have a nonstick coating, it will be easier to remove your confection once it’s complete.
While glass and ceramic pans are also options, they take longer to heat up. They also trap too much heat, which can result in an over-baked treat not even your puppy will want to try. If your recipe calls for a glass or ceramic pan, shave a few minutes off the timer.
Silicone baking mats are as durable as Brawny paper towels, which is the highest accolade we can bestow upon them. They can even the texture of baked goods and are easy to clean up.
5. Parchment paper is your best friend.
Parchment paper is magic. And it didn’t even graduate from Hogwarts.
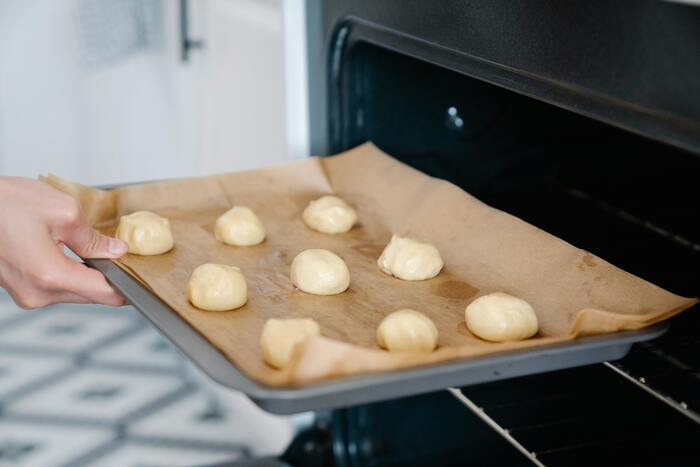
It is the only baking tool that can give you back minutes of your life you would have spent scouring the bits off baking pans. Parchment paper provides a comfortable layer between your baked good and your pan. It allows the baked good to cook evenly without sticking to the pan.
Line your pan with parchment paper and trim it until it fits the dimensions of the pan. You can use all that extra time to catch up on Andor.
6. It’s all about the butter.
As pop sensation Meghan Trainor once said it’s all about that butter, no trouble. Or something like that.
Butter is one of those key ingredients that can make or break a recipe. It gives your baked good texture. Butter’s temperature has a great effect on the texture of a baked good. Everything is better with butter. That should be printed on a t-shirt.
Unless the recipe specifies otherwise, butter should be unsalted. Line a fine wine, you’ll want your butter properly chilled if you’re making scones, pie crusts, or biscuits. Cold butter amps up the flakiness of these baked goods. This is one occasion when it’s good to be flaky.
Room temperature butter blends easily into your baked goods, like an avocado into a delicious smoothie. Butter blends easily with ingredients like sugar, adding a delicate texture to your final product.
Butter can also be melted on a stovetop or in a microwave. If microwaving, melt in 5 to 10-second intervals until softened, rotating every time.
7. Mix with caution.
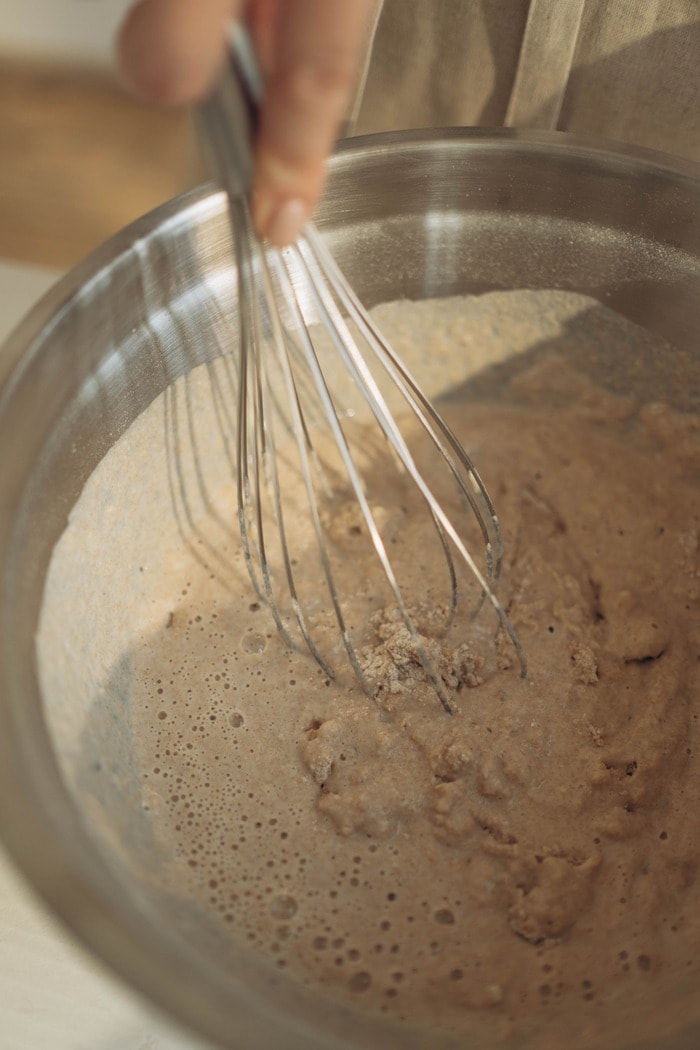
When mixing by hand, do so with a gentle touch. If you mix too much, the air will fall out of your batter, leaving your baked good flat. Unless you’re making pancakes, then the flatter the better.
Mix until the ingredients are just combined. The same rule applies if you’re using a standing kitchen mixer. Don’t be overzealous with the mixing button. Save that thumb energy for scrolling TikTok.
8. Use an oven thermometer.
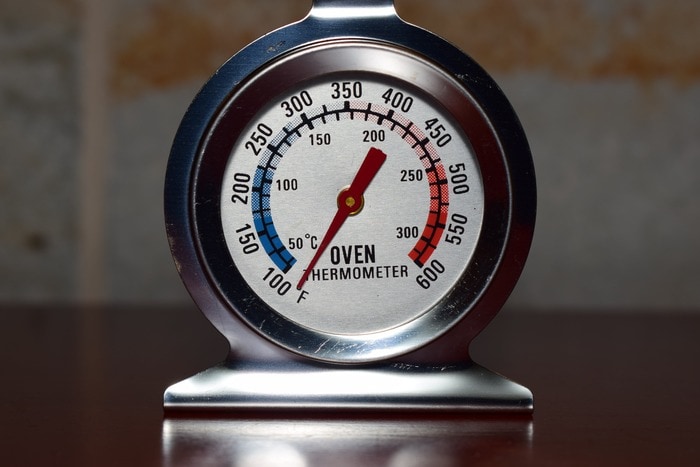
Like the weather app, your oven can be wrong. Using an oven thermometer can ensure your baked good is heated to the correct temperature.
This will let you assure your guests that raw ingredients were properly cooked. It will also allow you to avoid under- or overcooking your sweet treat. Consider it your sous-chef in the making. Look at you, all fancy.
9. Resist the temptation to open your oven door.
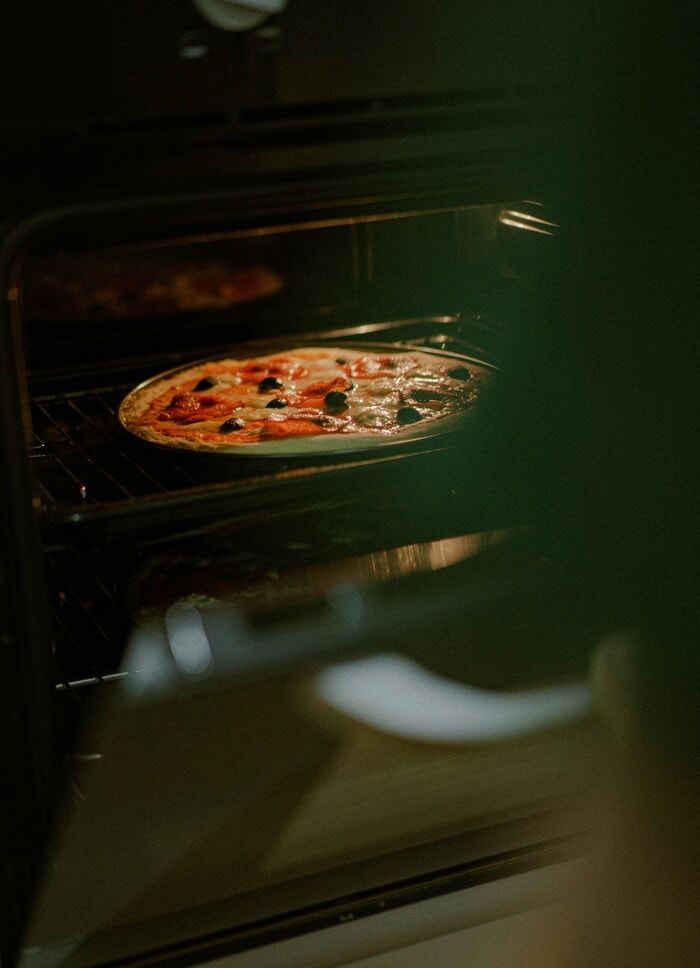
It can be oh-so-tempting to sneak a peak at your creation before the timer dings. By cracking open your oven, the cooler air can disrupt the scrumptious chemistry bringing your baked good to life. And nobody wants to learn that lesson the hard way, the way Victor Frankenstein did.
If you’re baking a cake or souffle, the abrupt interruption in temperature can make your creation fall flat.
If your oven has an internal light, you can put it on to check your progress.
10. Check to see if your baked good is done.
You’ve prepped, mixed and baked the ingredients. Now how do you know when your delectable creation is ready?
Take it out too soon and you’ll be met with a raw, gooey mess. Leave it in too long and the fragrance of burnt food will waft throughout your home for days. It’s a delicate tightrope to walk.
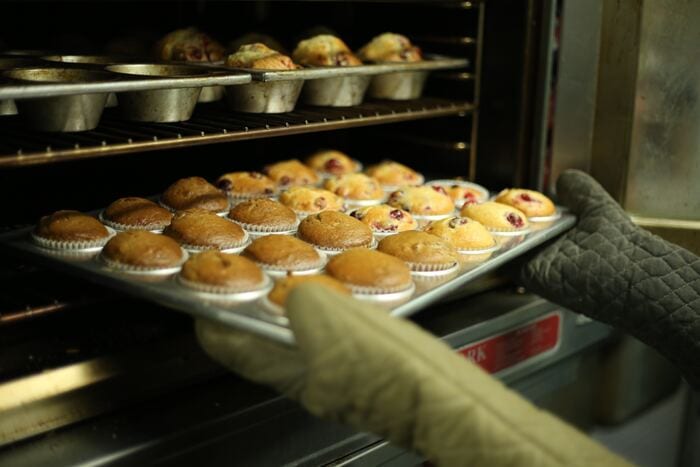
In some cases, the litmus test for a job well done will be included in the recipe. When in doubt, use a toothpick or cake tester. When you insert it into your cupcake or brownie, the toothpick should come out with crumbs, but no wet batter.












Leave a Comment