So you’ve thumbed through cake recipes and gathered your ingredients to bake the perfect Halloween cake. Now it’s time to adorn it, and you’re overwhelmed with options. Take a seat and let us guide you step-by-step through how to decorate a Halloween cake.
A Halloween cake without decor is, well, just a cake. To the base, you need to add orange and black icing, pumpkin-shaped sprinkles, spooky eye decorations, edible images, and more to make it come to life. In a fun way, not a Frankenstein way.
Whether your spooky cake is tiered, layered, or of the cup-variety, these tips will elevate it from boo to zoinks in minutes flat. Timer pending.
How to Decorate a Halloween Cake
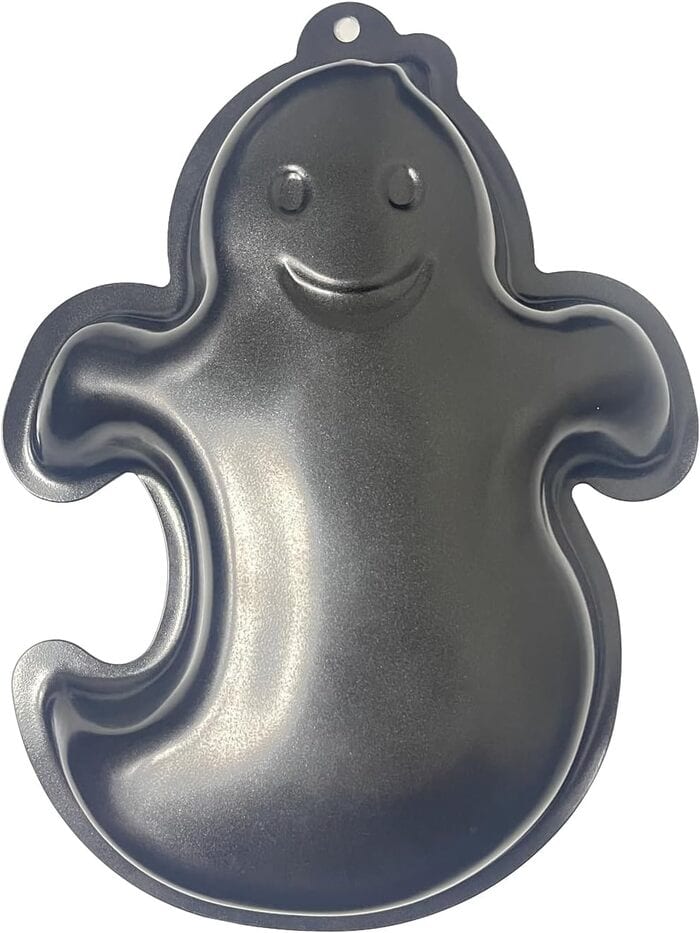
1. Invest in a spooktacular cake mold.
Decorating can begin before your cake comes out of the oven. If you have a Halloween shape in mind, a cake mold will help you achieve that look while saving time.
Cake molds don’t follow traditional rules. They’re the rebels of the baking pan world. So read the directions on the mold carefully and check your cake’s progress frequently. Burnt cake is worse than expired Girl Scout cookies.
Available on Amazon
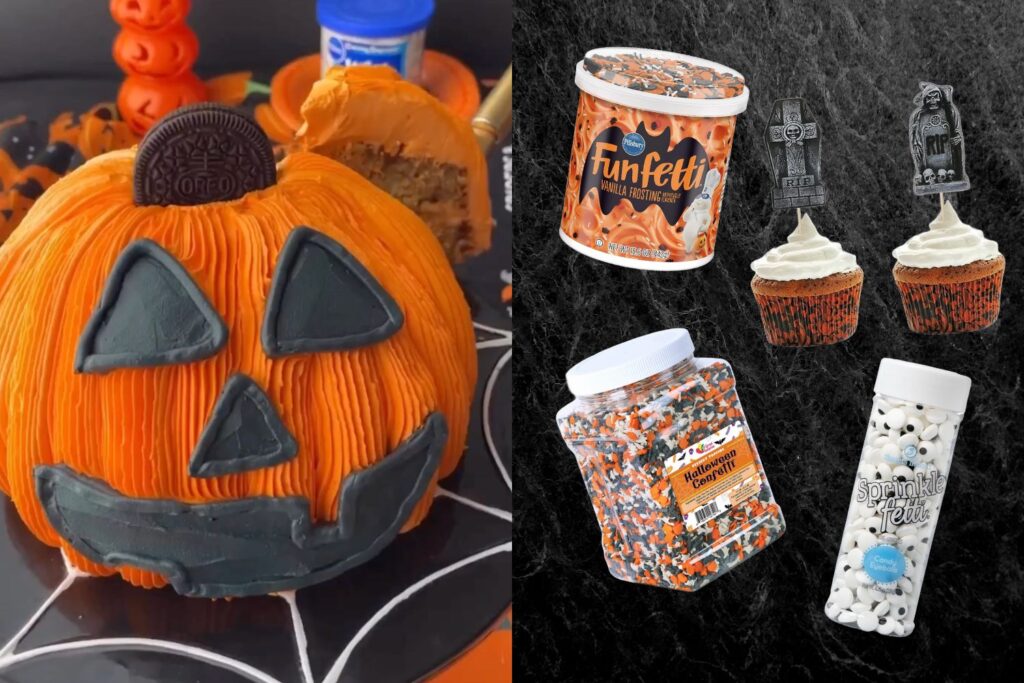
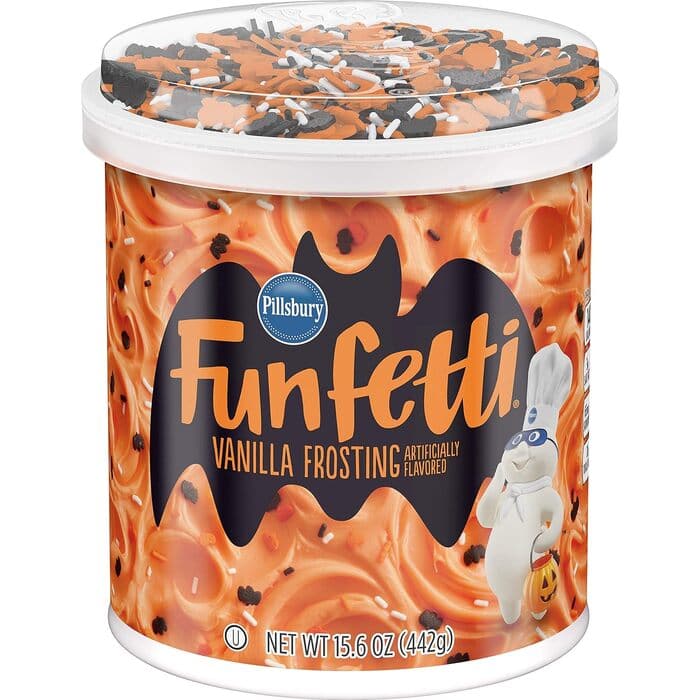
2. Slather your cake with frosting.
We almost didn’t add this one because it should go without saying that all cakes need frosting. Sorry, not sorry, naked cakes.
Frosting is a key component for a Halloween cake, because it helps the decorations stick the landing. You can choose any color that fits your cake’s haunting aesthetic, but orange, purple, and black are recommended. Certifiably spooky.
Available on Amazon
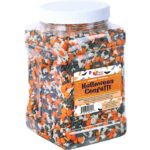
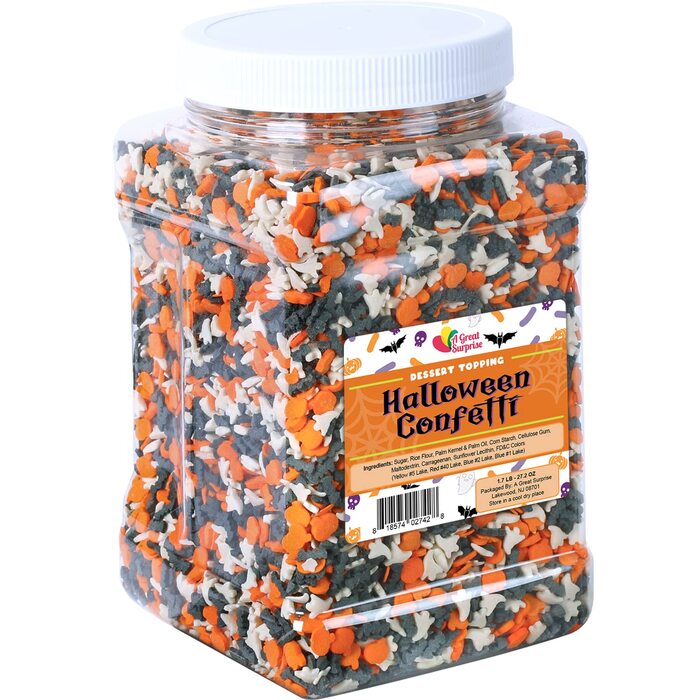
3. Stock up on spooky sprinkles.
Sprinkles are for show, not for function. And that’s fine with us. What they lack in flavor, they more than make up for in razzle dazzle. They’re basically the opposite of the braces you wore in fifth grade.
Sprinkles have no rules. The amount of sprinkles you use is up to you. But for the best sticking potential, apply them to fresh icing. It will save your Roomba a headache.
Available on Amazon
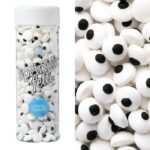
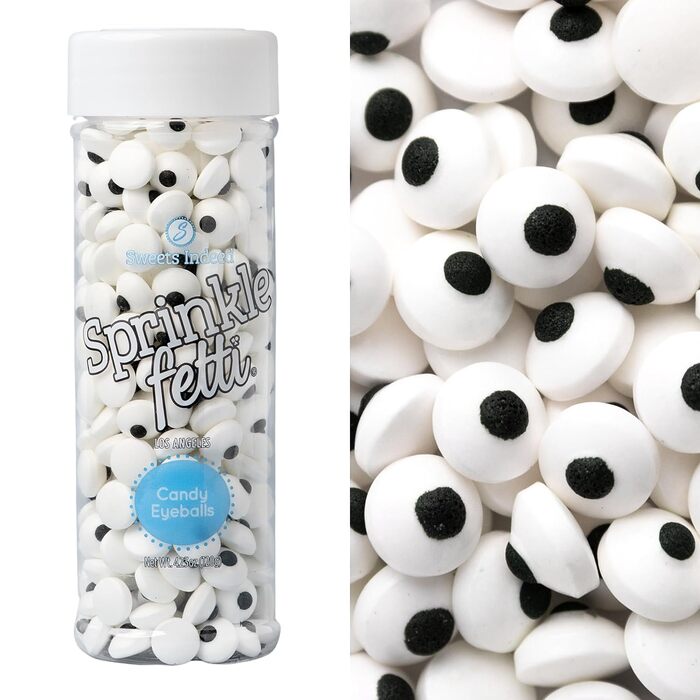
4. Roll on some candy eyeballs.
There’s nothing more satisfying and unsettling than candy eyes. Something sweet that’s always watching you? That sounds like a trip to Hershey Park.
Keep in mind that candy eyes work best when added to fresh, sticky icing. A small blob of icing will keep them secure.
Available on Amazon
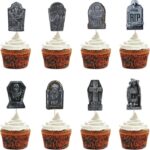
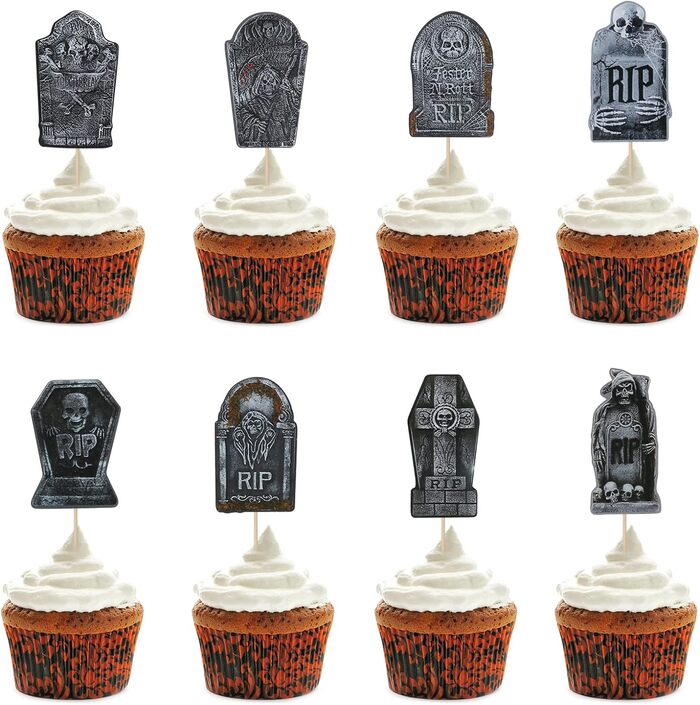
5. Accent with graveyard cake toppers.
Cake toppers stand up and say, “Here I am, please don’t eat me.” Which is as confusing as it is relatable. These spooky graveyard toppers just want to rest in pieces.
When using cake toppers, find the spot where you want it to stand and gently press it into your cake in a straight line. A cake topper should be the last thing added to a cake before serving. Make sure the icing hardens before pressing the topper in, so it will stay more secure.
Available on Amazon
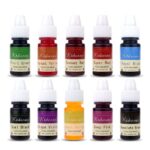
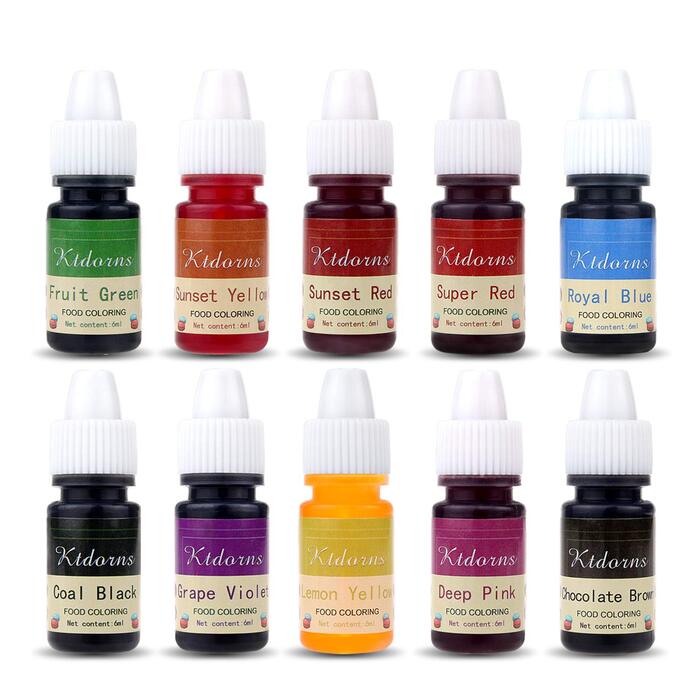
6. Drop some food coloring.
Food coloring turns a Halloween cake into a work of art. Without it, the aesthetic would dye. Hehe. Get it?
Liquid food coloring is the easiest to use and covers a large surface area. The trick with liquid food coloring is to always use less than you think you need, as you can always build up to a deeper hue.
If you use buttercream or fondant as a base, the color will deepen over time. Unlike that nail polish you should have changed last week.
Available on Amazon
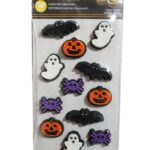
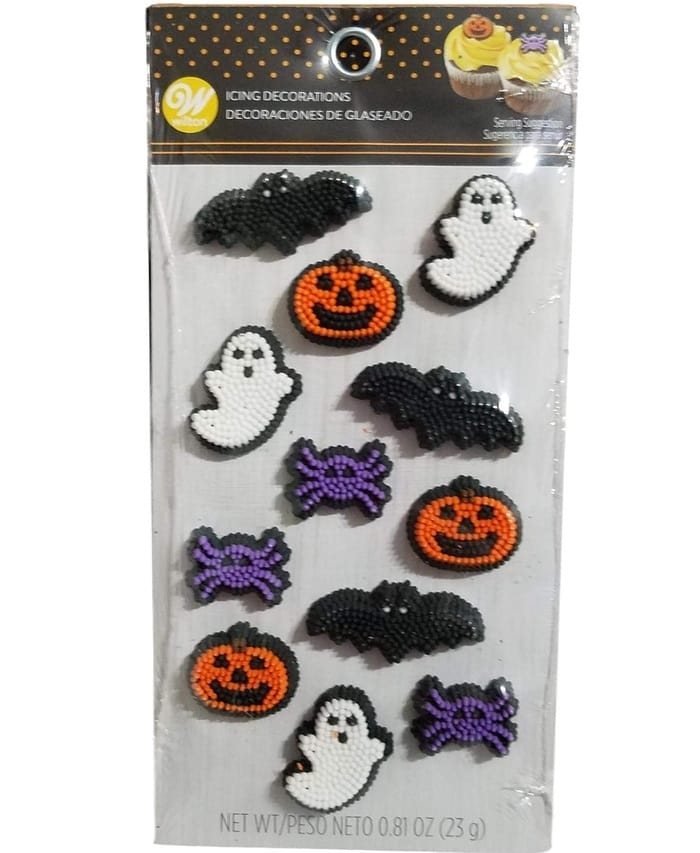
7. Add edible icing decorations.
Does anyone remember edible icing decorations from elementary school? Surprisingly, these are edible. Mhmm, the top of your cake is a total minefield. To eat or not to eat.
There’s no mystery to be found in these Halloween-themed edible icing decorations, which is a relief to all involved. They’re flat and easy to place. Stick them in some fresh icing and they’ll be set to spook in seconds.
Available on Amazon
8. Apply an edible printed image.
Edible printed images are great when you’re short on time. They’re as convenient as they are impressive, and who doesn’t love a compliment? No, thank you. Actually, uh, thank us.
When ordering edible images, make sure the dimensions of the image match the shape of your cake. The icing and surface of the cake should be moist and smooth for best results. White frosting is the best choice so your image will show up clearly.
Apply carefully, smoothing from middle to ends. Gently pat out any wrinkles that appear. If only our night cream could do the same.
Available on Amazon
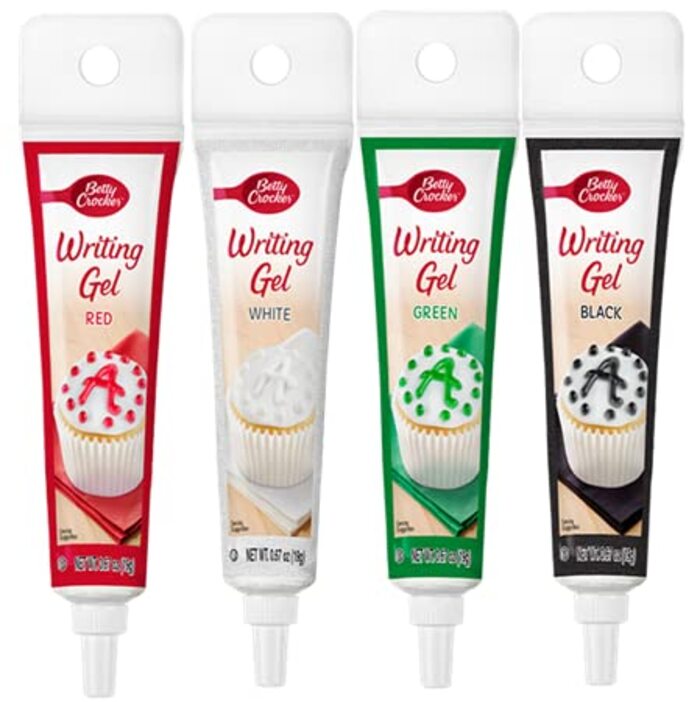
9. Add a message with cake gel.
Cake gel is the Ouija Board of Halloween cakes. It can impart creepy, mysterious messages that leave you feeling baffled and unsettled. Especially if you’re kinda bad at spelling.
Before writing, refrigerate your iced cake so you can erase errors more easily. Hold your squeeze tube at 45 degrees and slowly form each letter using a gentle pressure.
Some gels harden and dry while others can smear if they’re tampered with, so check the instructions on the label. And the font is up to you, just don’t use Comic Sans. It’s just not that threatening, ya know?
Available on Amazon
10. Pop in some cake pop sticks.
Sometimes life doesn’t go as planned and your Halloween cake comes out of the oven a lopsided mess. Instead of cursing the poltergeist that ruined it, turn those lemons into lemonade. Or in this case, turn that cake into cake pops.
For a 9×13 sheet cake, mix a few spoonfuls of frosting into the cooled cake. Roll into balls of about 1-2 tablespoons in size. Slide a cake pop stick into each ball and dip into melted chocolate.
Cool for several hours and reward yourself a pumpkin spice latte in celebration of a job well done. That last part isn’t required, but recommended.
Available on Etsy
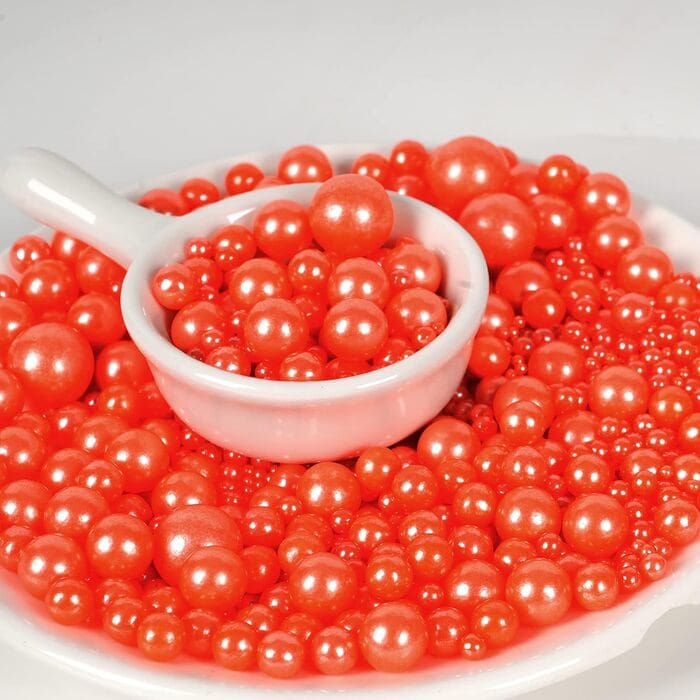
11. Dazzle with some edible orange pearls.
Diamonds may be a ghoul’s best friend, but pearls are your cake’s best friend. These edible pearls add a multisensory tour de force to your cake recipe. The opalescent glimmer and sandy crunch will set your guests’ teeth on edge, in the most pleasant way possible. We hope.
Royal icing and edible glue are the best mediums to secure your pearls without losing them in the quicksand of frosting. You don’t want your pearls to R.I.P. until they’ve been consumed.
The last step is assuring your guests that the pearls are safe to eat. Really, they are…
Available on Amazon
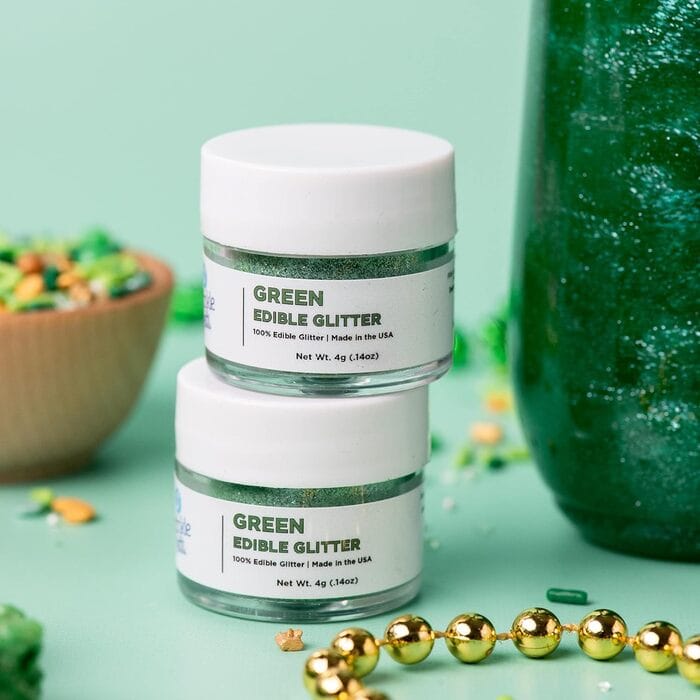
12. Disperse some edible glitter.
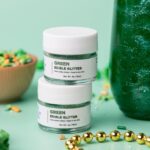
Edible glitter is the cherry on top of a haunting Halloween cake. Well, technically it’s the glitter on top. Semantics.
The amount of edible glitter you use depends on your preference. Gently shake or sprinkle onto fresh frosting. Depending on the container, some edible glitters can be sprayed into place.
Available on Amazon
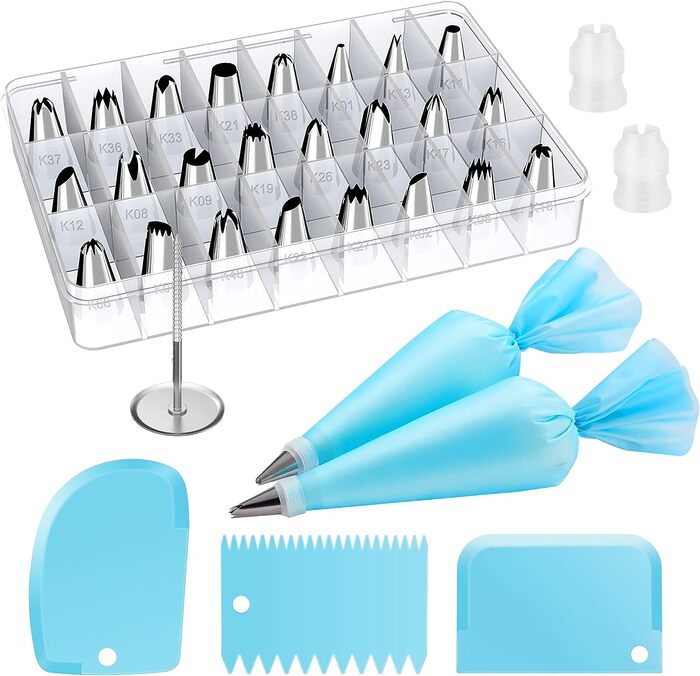
13. Use piping bags and tips.
Piping bags and tips are what take you from amateur baker to Cake Boss. Piping tips can add a spooky regality to your cake. Fence in your graveyard cake or add textured accents to Frankenstein’s scars.
Snip the edge of your piping bag and settle your preferred tip into position. Scoop in frosting, filling the bag ½ to ¾ of the way. This is not like your trick-or-treat bag, which should always overflow. Lightly squeeze the frosting in a downward motion onto your cake.
Available on Amazon
14. Sprinkle some Halloween candy.
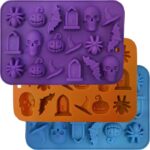
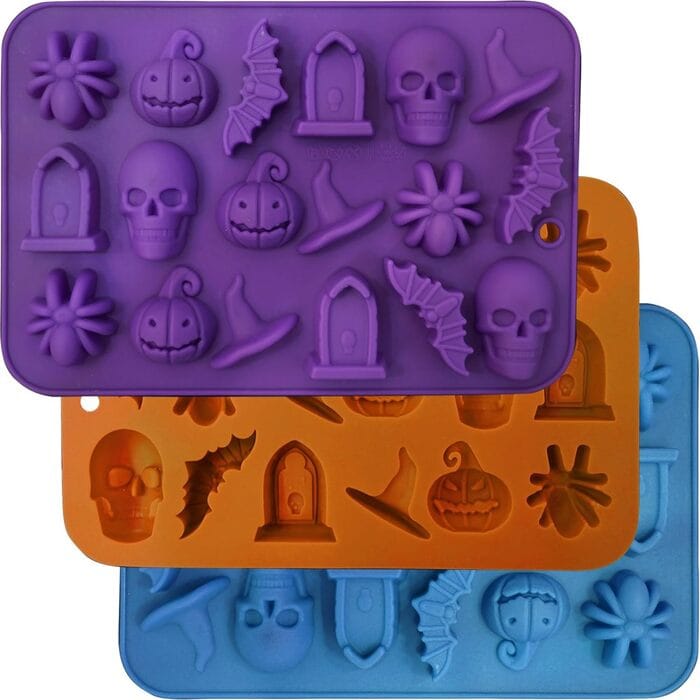
Add characters to your Halloween confection for some 3-D flair. For best results, melt the chocolate of your choice and pour into the mold. Keep refrigerated until the chocolate hardens, and then pop ’em out.
Silicone molds are your best bet, because they don’t need to be greased and easily release. Unlike that brownie pan that stubbornly holds on to that one corner piece of brownie from six months ago.
Available on Amazon
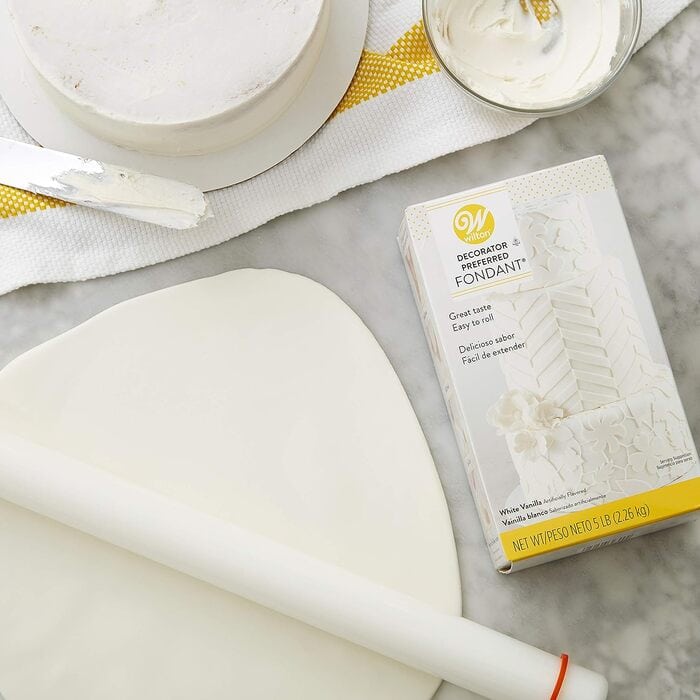
15. Use fondant to make spooky accent pieces.
Fondant is flexible and edible, which makes it the perfect crafting choice for baking. Use cookie cutters to etch Halloween shapes, or go freestyle with fondant tools. If you’re feeling like Picasso, you can use some edible paints or markers to decorate them.
Just don’t get too carried away. This isn’t The Great British Bake Off, after all. No one’s coming to shake your hand.
Available on Amazon
16. Place plastic spider rings.
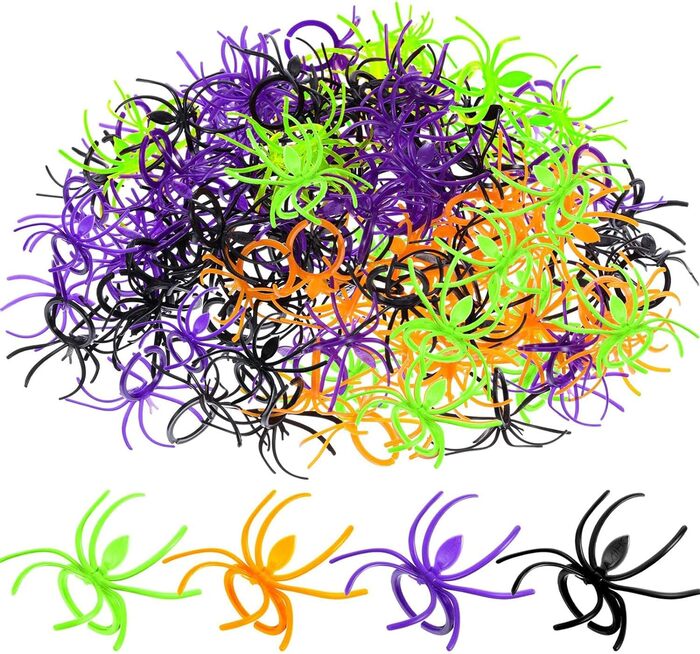
There’s no greater joy than finding a piece of wearable jewelry in your cake. Especially when they resemble terrifying insects! As a bonus, this spider will stay put on your finger instead of crawling on you.
To apply, gently place the plastic spider on your freshly frosted cake. Do not push down or the spider ring will leave a hole in your cake. Which would make this cake a do-nut enter zone.
Available on Amazon
17. Add Halloween-themed ornaments for garnish.
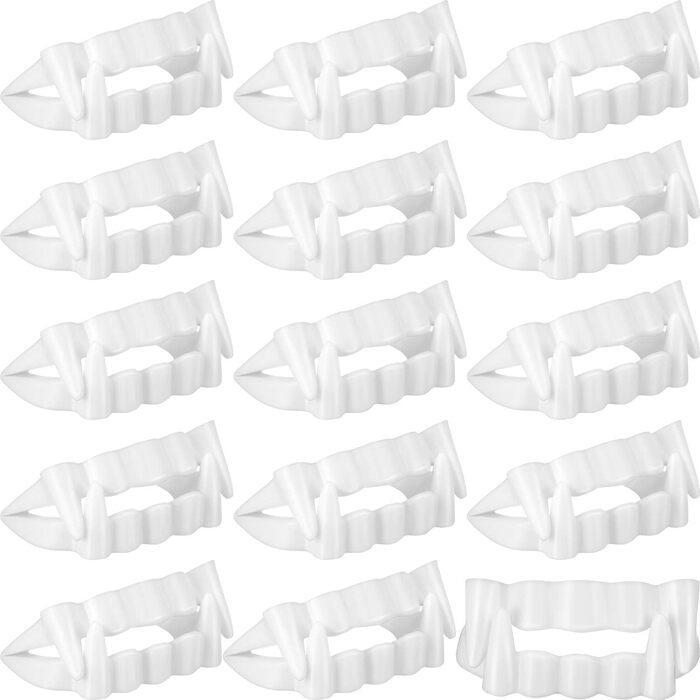
Sometimes, accents are purely decorative, but they can add that “wow” factor that sprinkles and frosting can’t achieve alone. It’s a team effort to impress, and everyone has their role to play. Even you, ⅛ of a teaspoon of vanilla.
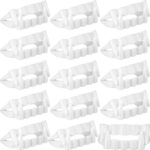
Bend the fangs into a closed position. Then gently place them into moist frosting. Do not press down, or it will sink into the cake.
Available on Amazon
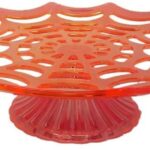
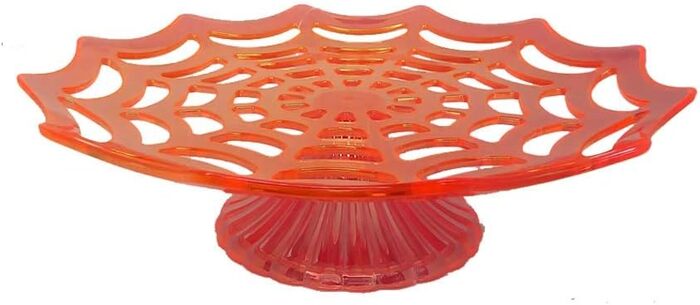
18. Find a spooky cake stand.
A cake stand is the final step to Halloween hosting perfection. A cake stand proudly displays your championed confection. And makes it less likely to fall on the floor, so that’s good.
For easier movement, put cardboard under your cake when you take it out of the pan. It will make a sturdier platform when you decorate it and move it to the stand later. Slide a spatula under the cake to gently lower it onto the stand. Voila! It’s a piece of cake.
Available on Amazon











Leave a Comment