If you’re trying to leave the country, you won’t get very far without a passport. And no passport is complete without a passport photo that looks like it was taken by your worst enemy and put through the ugliest Snapchat filter they could find. So, here’s how to take your own passport photos. Or at least have someone take less crummy ones of you.
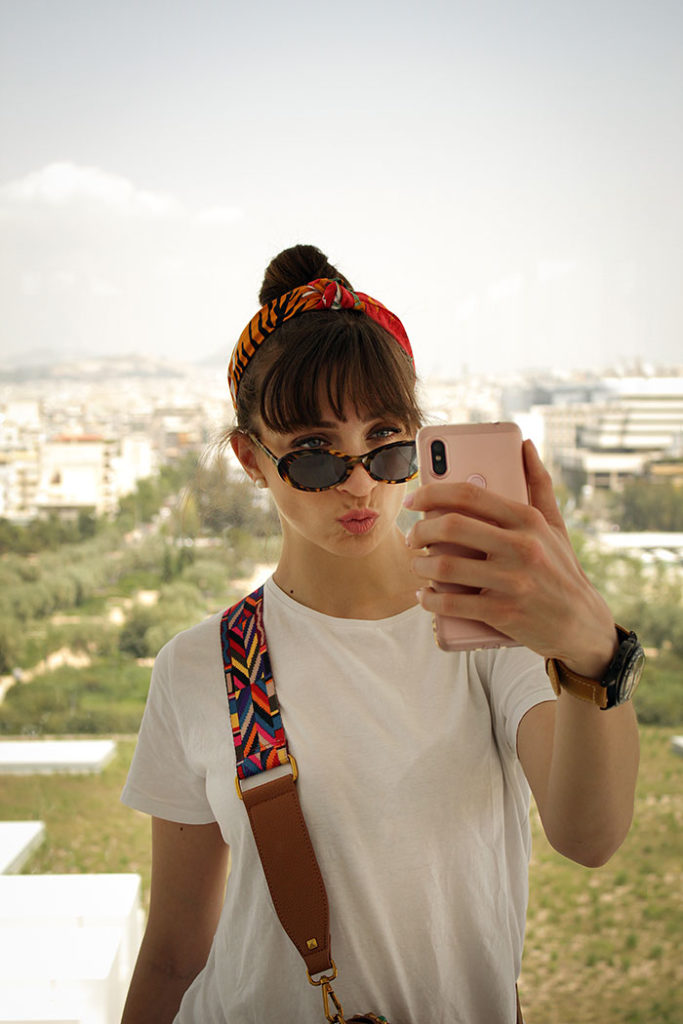
3 Tips For a Great Passport Photo
Here’s the thing. Your poor Instagram boyfriend or girlfriend has to take 20 photos of you in front of the perfect mural before you choose the one to edit before sharing it with your 200 followers, but somehow a quick snap by the CVS clerk in florescent lighting will do for your passport photo that’s meant to last you ten years?
Our Critical Thinking for Dummies guide says unless the CVS clerk is also your Instagram partner, you can do better.
Since the TSA doesn’t consider your Costco membership card to be “valid ID for international travel,” these tips will help you take a passport photo you don’t hate.
Once you’ve got the official requirements down, here’s how to stop looking a hot mess in your passport photo.
- Take your own passport photo on a day that you feel pretty. Skip it if you’re hungover, bloated from a weekend pizza bender, running on three hours of sleep, or Mercury is in retrograde.
- Find a spot where the lighting is eye level, not overhead and if you can, face a window. Overhead lighting is almost always unflattering (think: fitting rooms) plus it can cast shadows, which is against the rules. The TSA has so many rules. Put your liquids in this bag. Don’t have shadows in your passport photos. Stop chasing your emotional support peacock through the body scanning machine.
- Flat lighting that doesn’t cast shadows can make your features disappear, so wear makeup. Even if you’re not usually a makeup person, consider at least wearing mascara and a touch of lipstick — you’d be surprised how much better you look with lips.
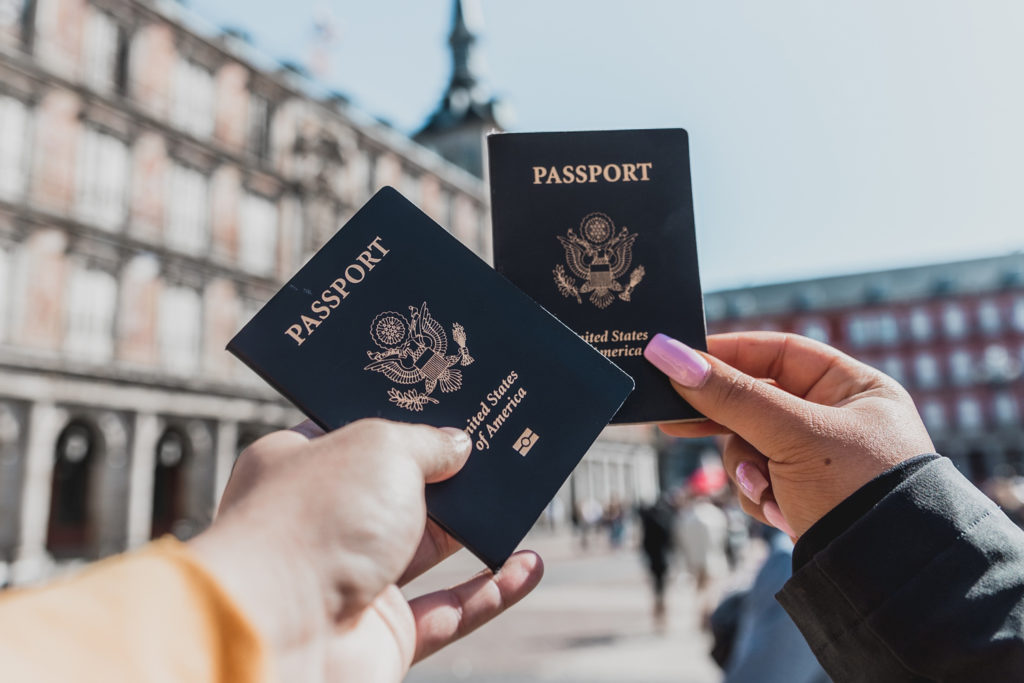
If you need a good reason to take a million selfies, retaking your passport photo until you nail it is it. Like, it’s literally the one reason. Feel free to use the excuse anytime you feel the need to snap a selfie — whether that’s at the zoo, at a concert, at your coworker’s funeral… really, wherever. Just don’t expect them all to be accepted by the TSA.
Do you travel often? Find out if it’s worth signing up for TSA PreCheck.
How to Take Your Own Passport Photos That Pass TSA Requirements
If you’re planning to take your own flattering passport photos, you need to follow the official government rules. Exactly. If not, your photo will be denied, and you’ll probably end up back where you started. No, not the womb. CVS.
I tested out my tips on my own passport photo. When I received that big yellow envelope in the mail from the processing center, I was worried I’d find a rejection letter inside, but nope. Instead it was my shiny new passport, complete with my selfie! So, I’m an expert now.
According to the State Department, these are the official rules for passport photos:
These rules apply to anyone who isn’t an infant. They apparently get a few exceptions. Slackers.
The Basics
- Submit a color photo.
- Take a clear photo of your face. Seriously, no eggplants. The government does not want to see your food photos.
- Only you should be in the passport photo.
- No selfies. You can take the photo, but use the self-timer.
- Don’t wear your eyeglasses.
- Take the photo in front of a plain white or off-white background. Don’t take it in front of your cat wallpaper then Photoshop yourself onto a white background. They’ll know. They always know.
- Use natural, even lighting on your face. Do not use flash or any directional lighting that creates shadows. If it makes you look good, it’s probably an enemy of the state.
Your Pose and Expression
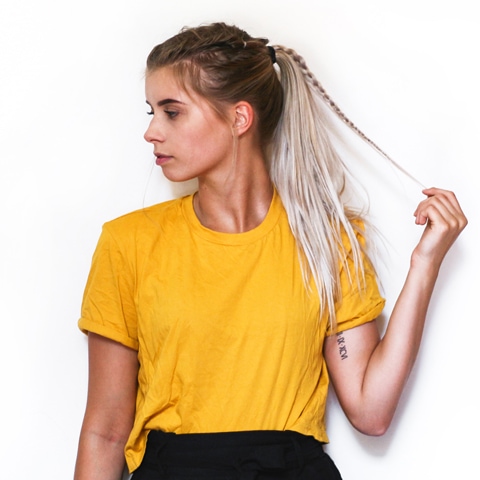
- You must be facing the camera head-on with your arms down at your sides.
- Don’t grin. Keep a natural smile or neutral facial expression, like you’re listening to a friend explain why she’s getting back together with that guy with the fedora collection and fridge full of Smirnoff Ice.
- Make sure your hair isn’t covering either of your eyes. We told you not to get bangs. (Bangs are ok, just make sure your eyes aren’t covered.)
What Not to Wear
-
- Do not wear glasses. (If you can’t remove them for medical reasons, you’ll need to include a doctor’s note with your application.)
- Wear normal, everyday clothing.
- Do not wear any type of uniform, anything with a camo print, or anything you’ll regret in 2029.
- Do not wear a hat or anything that obscures your hairline or casts shadows on your face.
- If you wear a head covering for religious reasons, make sure it’s not covering or shadowing any portion of your face, and include a signed statement with your application that verifies your head covering “is part of traditional religious attire worn continuously in public.” If it’s for a medical reason, submit a doctor’s note “verifying the hat or head covering in your photo is used daily for medical purposes.” You still can’t let it hide your hairline or cast shadows. Also, please, balance on this very tiny stool while you take the photo.
- Do not wear a scarf that obscures any portion of your face, even if it’s PSL season.
- Do not wear headphones or earphones. We get it, you own AirPods.
Facial piercings that don’t obscure your face are permitted and face tattoos are allowed.
Resolution, Size, and Quality
- Printed photo must be 2 inches x 2 inches (51mm x 51mm if you hate the Imperial system)
- Your head must be between 1″ to 1⅜” (25 – 35 mm) from the bottom of the chin to the top of your head. This is where an app like the creatively named Passport Photo Booth or Passport Size Photo Maker or your handy 1⅜” ruler tattoo can come in handy.
- Photo must be clear, properly exposed, and high resolution. It shouldn’t have visible pixels or be blurry.
- Do not use filters or digitally alter the photo in any way.
- Send the photos in good condition. Smudges, holes, creases, glitter, and other creative decorations are frowned upon.
How to Print Your Passport Photos
1. Download a passport photo app.
Getting the dimensions of your passport photo right can be one of the biggest challenges.
Good news: These two apps can do the measuring for you.
- iOS: Passport Photo Booth gives you the guidelines of where to place your head, chin and eyes to meet the measurement requirements. Save your photo to your phone and upload it to a photo printing service, or order a print directly through the app.
- Android: Passport Size Photo Maker does the same thing, but for those nonconformists who insist on using Android.
Do not use the background-removing feature that’s offered in many passport photo apps — this will most likely get your photo rejected for digital manipulation. Take your photo in front of a white or off-white background, then use the app to resize it as needed.
2. Format your photo for printing.
A 2×2 photo can be laid out as six squares on a 4×6 print (which costs less than 50 cents at most photo printing locations). Both of the apps above will generate a 4×6 with six copies of your passport photo.
Once you have the perfect picture, you can send it to any photo printing location. Choose matte or glossy paper.
- What Does Your Airport Outfit Say About You? - August 3, 2021
- Nailed It: How to Choose the Best Nail Shape for Your Claws - June 3, 2021
- 30 Creative Nail Designs for a Manicure That’s Anything But Basic - June 2, 2021



Leave a Comment